介绍
Apache APISIX 是一个动态、实时、高性能的 API 网关。基于 Nginx 和 Etcd 实现。
作为 API 网关,APISIX 提供了灵活插件机制、动态上游、动态路由、灰度发布、熔断限流、身份认证、可观测性、Serverless、Wasm等功能。可以处理L4、L7层的流量支持HTTP、HTTPS、TCP、UDP、MQTT、gRPC等协议。
安装部署
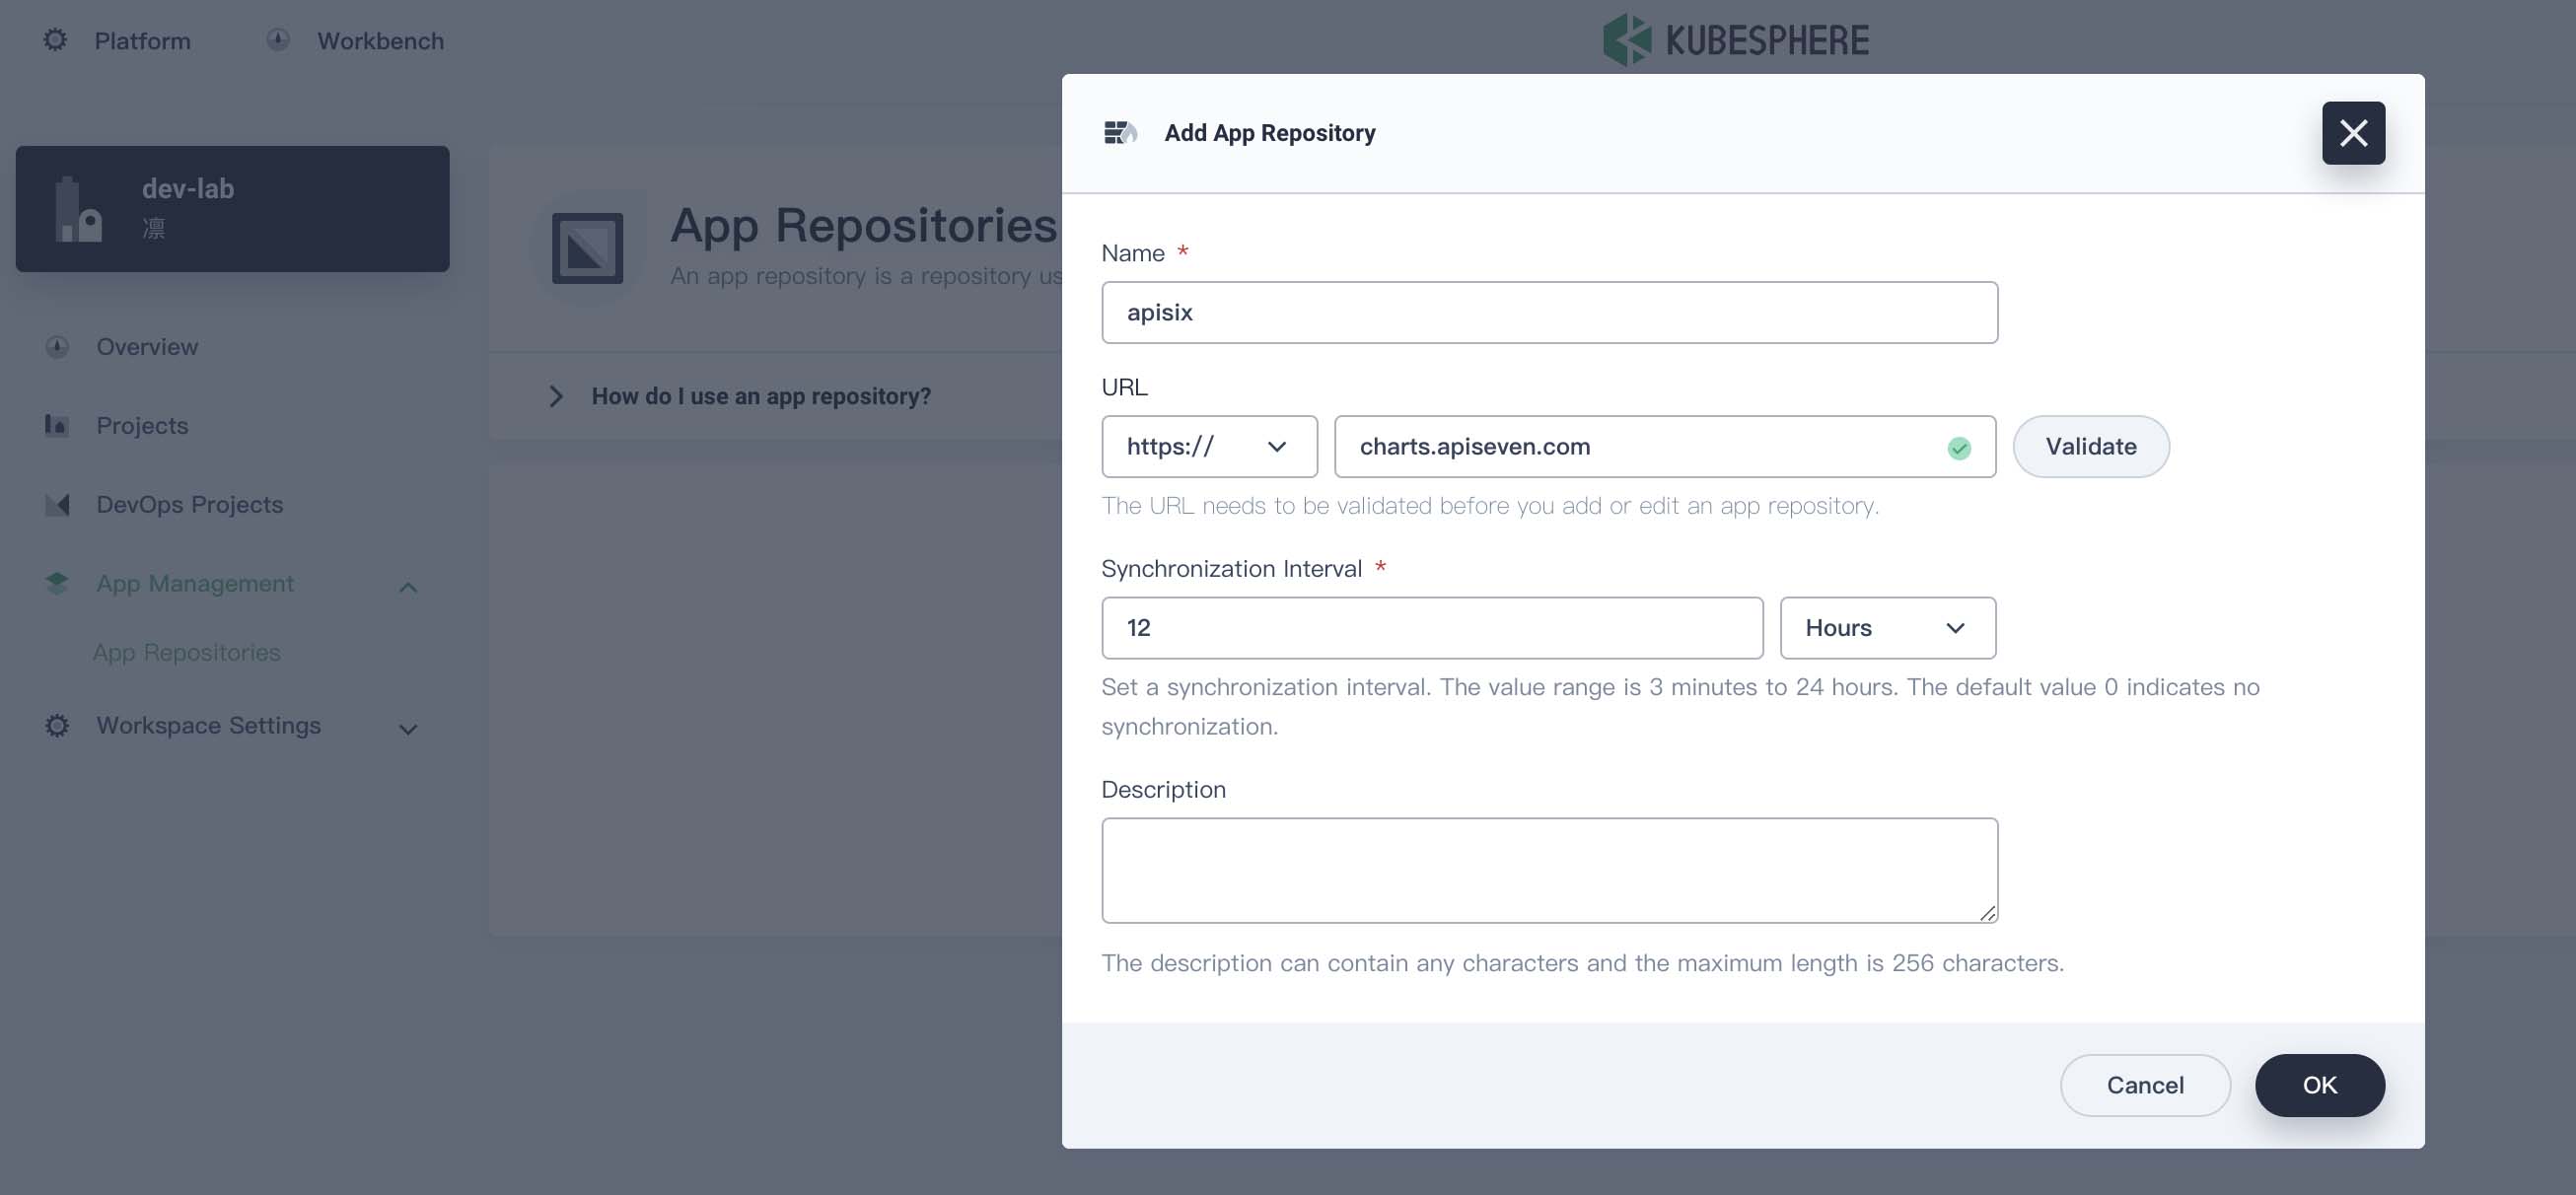
在 kubesphere 中创建一个 Workspace,添加 APISIX Helm Chart 仓库 https://charts.apiseven.com/。
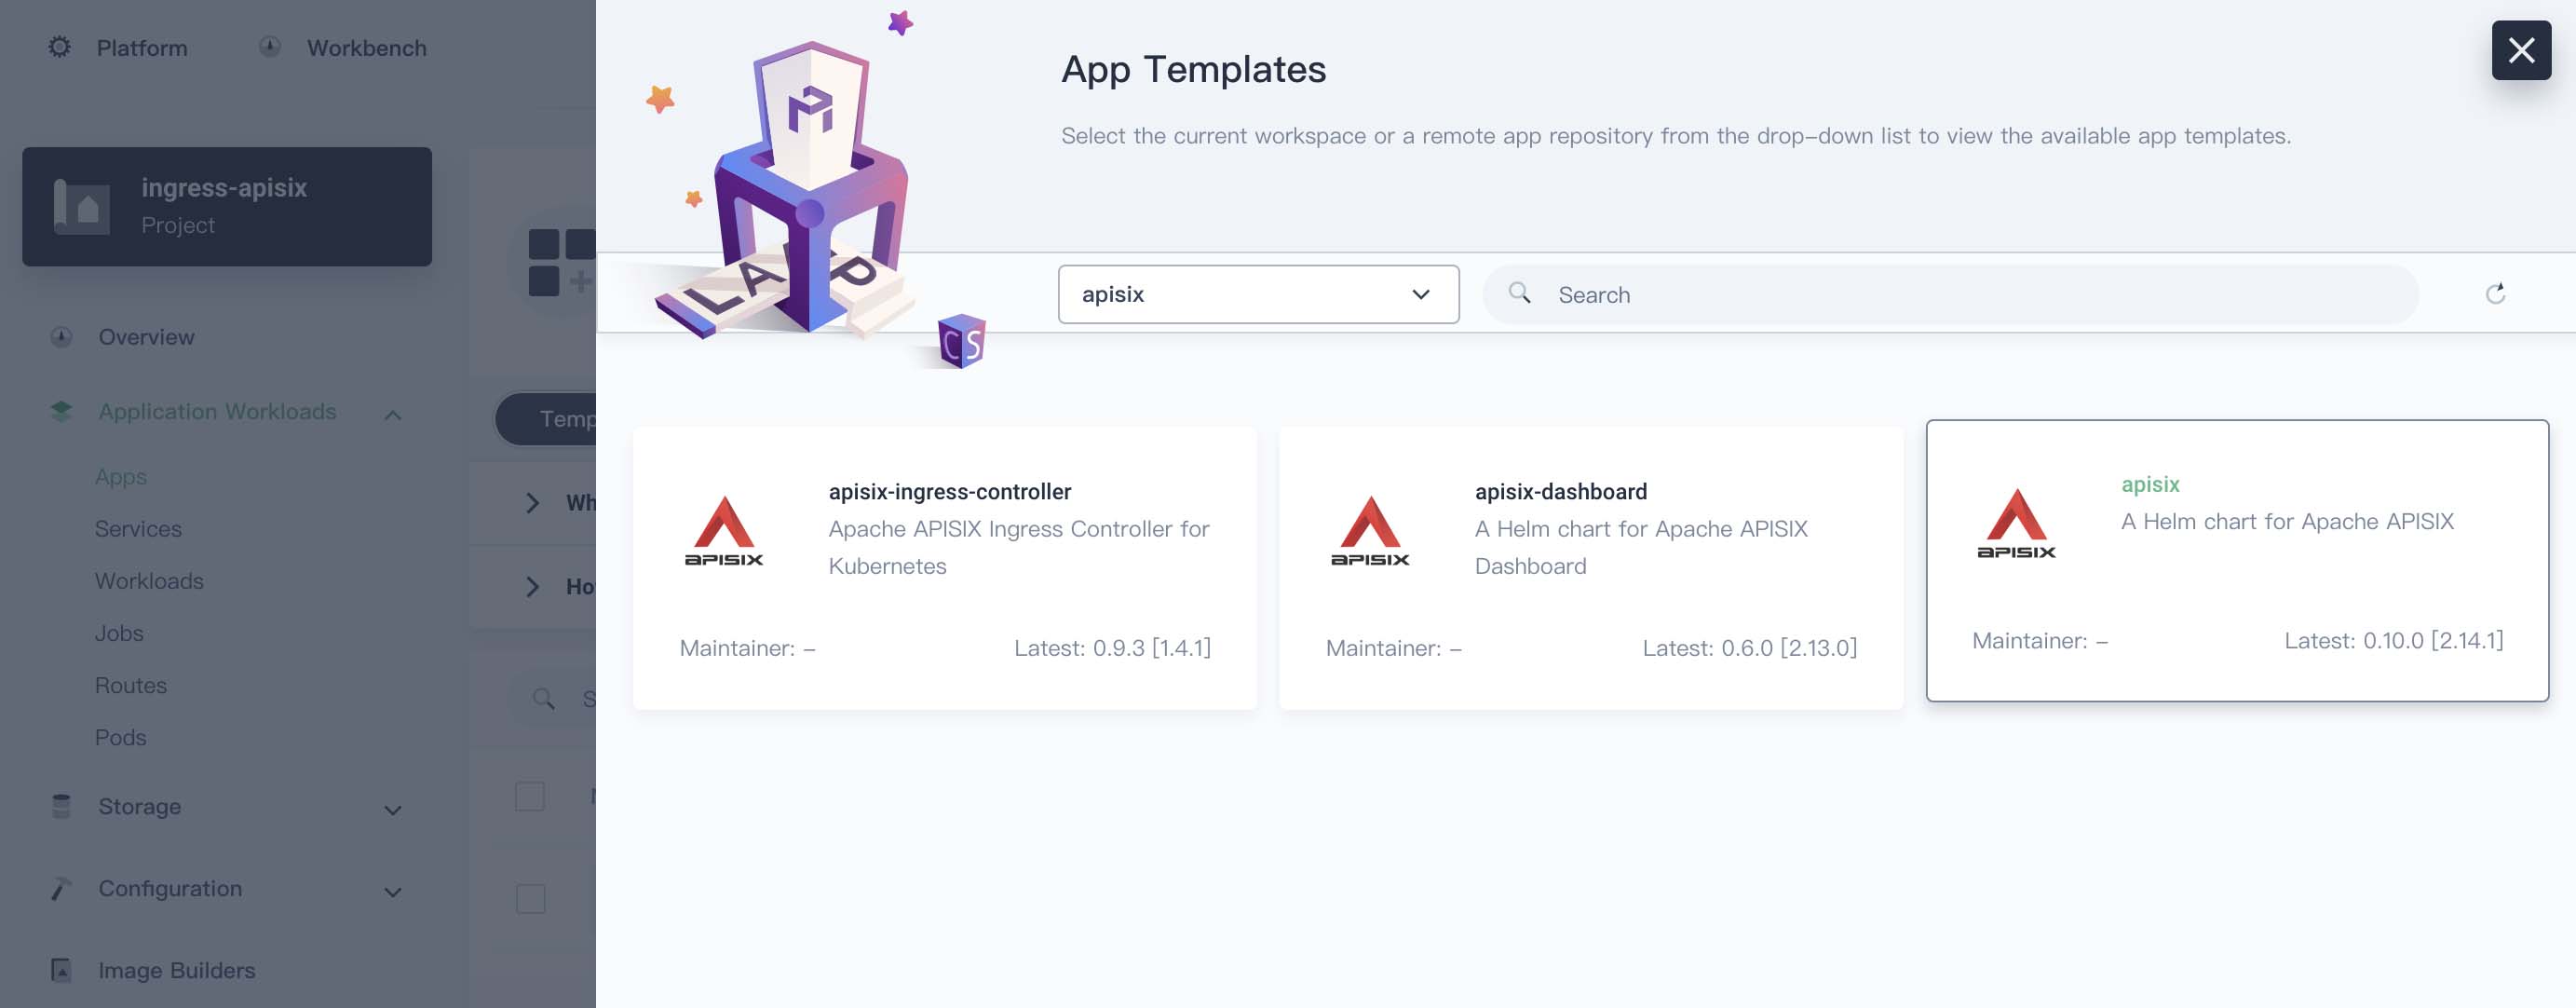
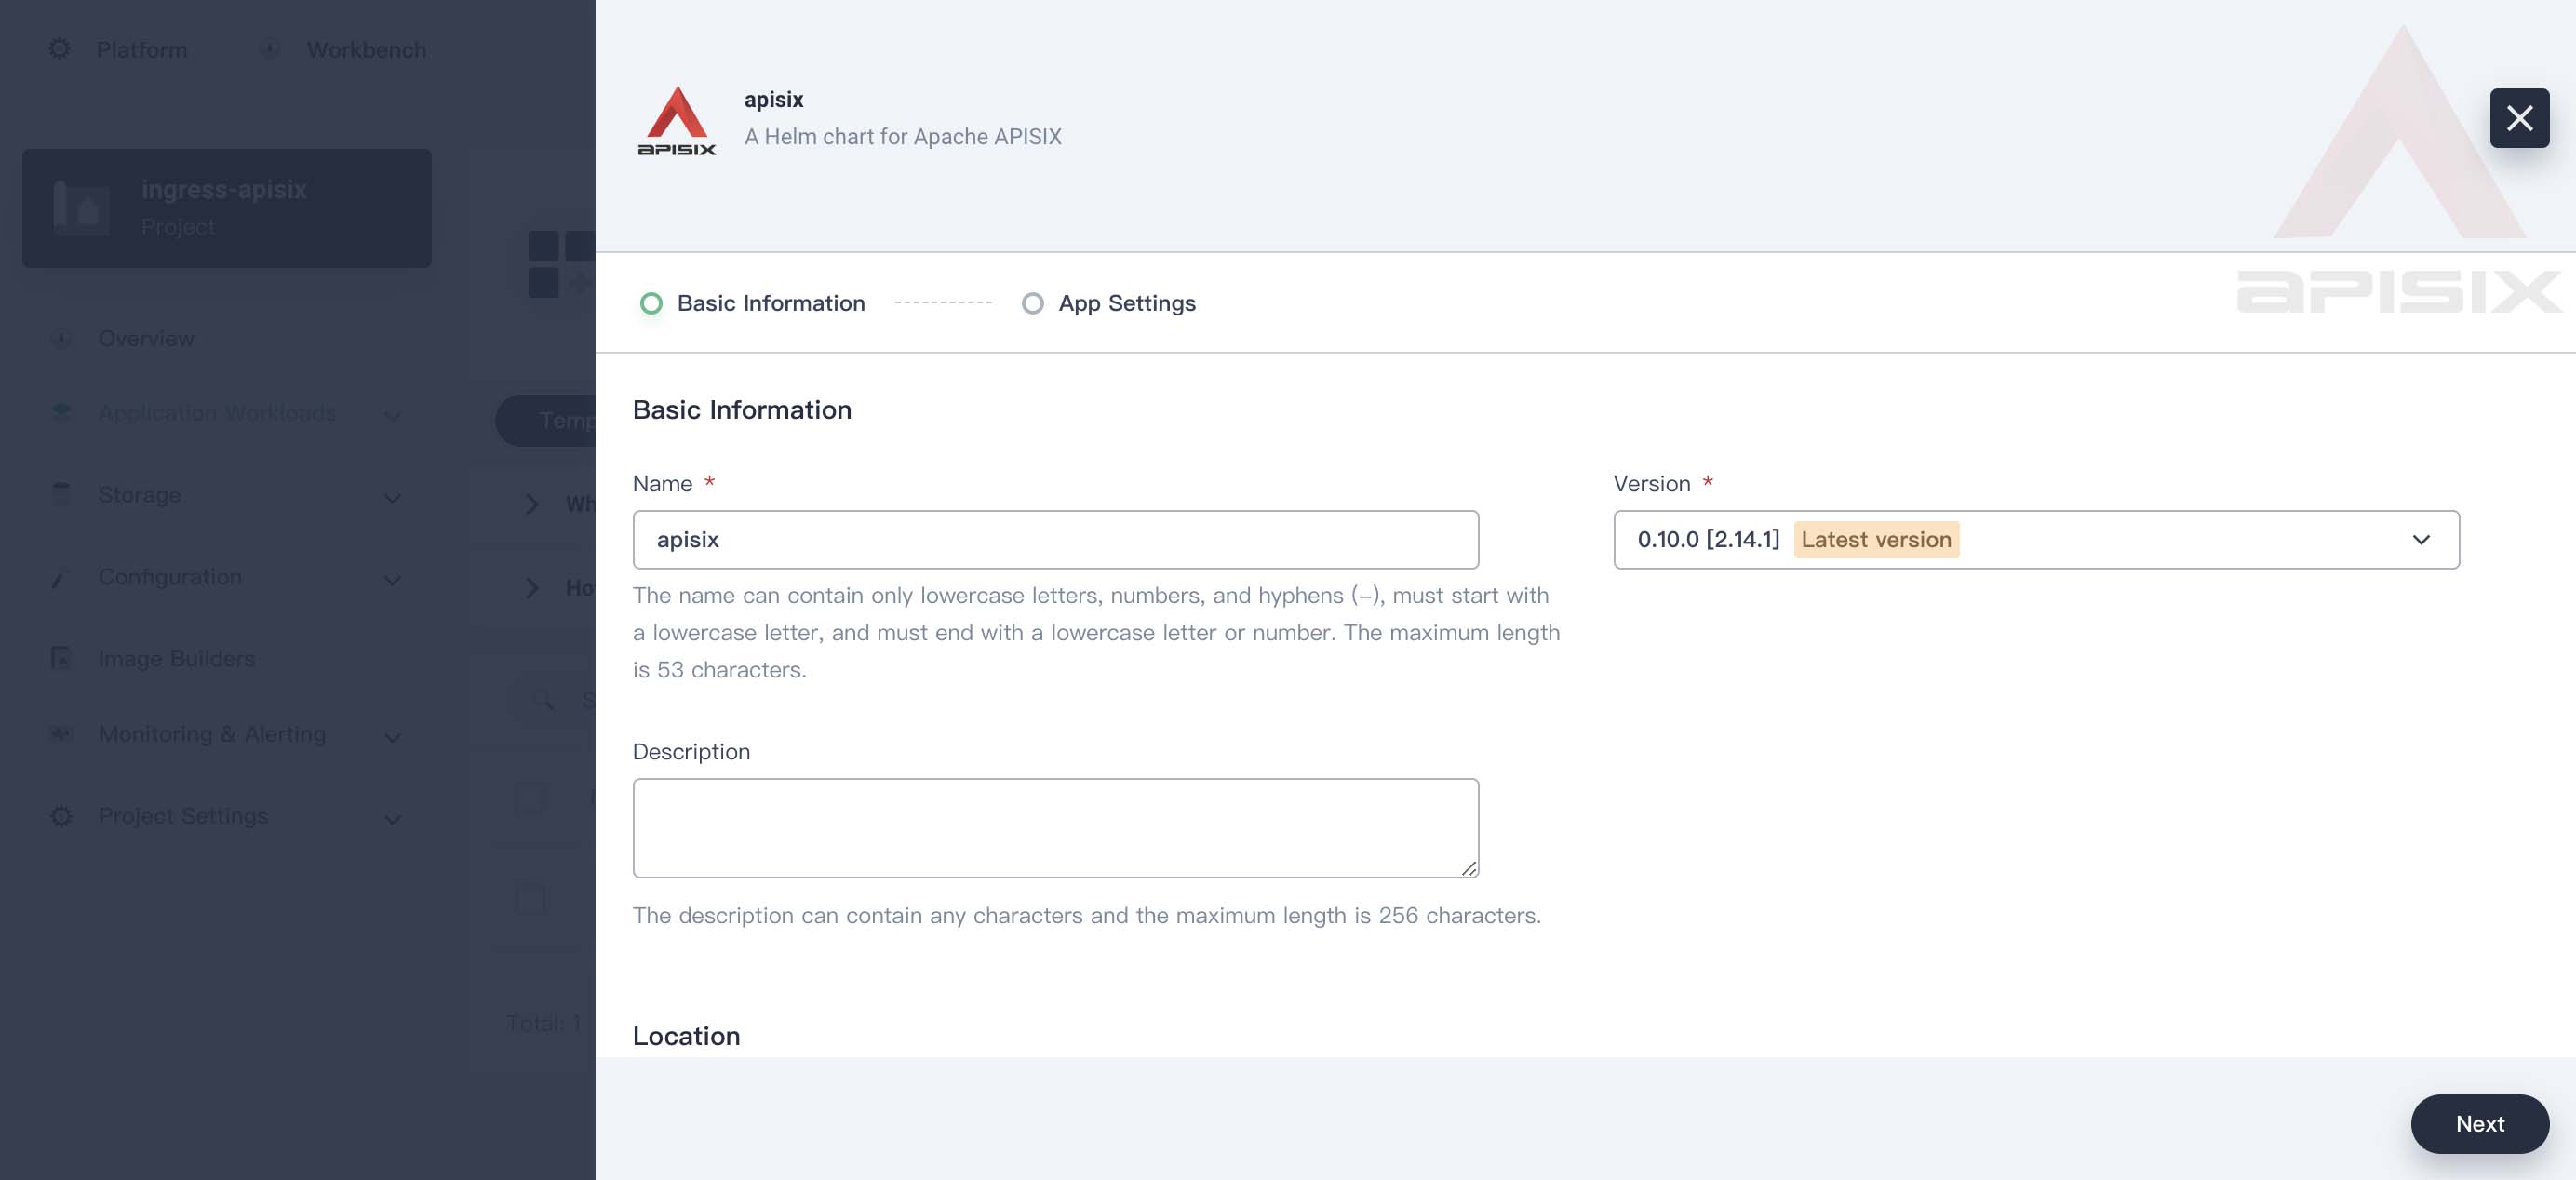
然后新建一个 ingress-apisix 的 projects,也就是 namespace。在该 project 下创建一个 apisix App,选择刚才添加的仓库。创建 apisix 会同时创建 APISIX Gateway + Dashboard + Ingress Controller。
版本选择 0.10.0 [2.14.1]
我最终的配置:
1
2
3
4
5
6
7
8
9
10
11
12
13
14
15
16
17
18
19
20
21
22
23
24
25
26
27
28
29
30
31
32
33
34
35
36
37
38
39
40
41
42
43
44
45
46
47
48
49
50
51
52
53
54
55
56
57
58
59
60
61
62
63
64
65
66
67
68
69
70
71
72
73
74
75
76
77
78
79
80
81
82
83
84
85
86
87
88
89
90
91
92
93
94
95
96
97
98
99
100
101
102
103
104
105
106
107
108
109
110
111
112
113
114
115
116
117
118
119
120
121
122
123
124
125
126
127
128
129
130
131
132
133
134
135
136
137
138
139
140
141
142
143
144
145
146
147
148
149
150
151
152
153
154
155
156
157
158
159
160
161
162
163
164
165
166
167
168
169
170
171
172
173
174
175
176
177
178
179
180
181
182
183
184
185
186
187
188
189
190
191
192
193
194
195
196
197
198
199
200
201
202
203
204
205
206
207
208
209
210
211
212
213
214
215
216
217
218
219
220
221
222
223
224
225
226
227
228
229
230
231
232
233
234
235
236
237
238
| global:
imagePullSecrets: []
apisix:
enabled: true
enableIPv6: true
setIDFromPodUID: false
customLuaSharedDicts: []
luaModuleHook:
enabled: false
luaPath: ''
hookPoint: ''
configMapRef:
name: ''
mounts:
- key: ''
path: ''
enableCustomizedConfig: false
customizedConfig: {}
image:
repository: apache/apisix
pullPolicy: IfNotPresent
tag: 2.14.1-alpine
kind: Deployment
replicaCount: 1
podAnnotations: {}
podSecurityContext: {}
securityContext: {}
podDisruptionBudget:
enabled: false
minAvailable: 90%
maxUnavailable: 1
resources: {}
nodeSelector: {}
tolerations: []
affinity: {}
podAntiAffinity:
enabled: false
timezone: Asia/Shanghai
extraEnvVars: []
nameOverride: ''
fullnameOverride: ''
gateway:
type: NodePort
externalTrafficPolicy: Cluster
externalIPs: []
http:
enabled: true
servicePort: 80
containerPort: 9080
tls:
enabled: false
servicePort: 443
containerPort: 9443
existingCASecret: ''
certCAFilename: ''
http2:
enabled: true
stream:
enabled: false
only: false
tcp: []
udp: []
ingress:
enabled: false
annotations: {}
hosts:
- host: apisix.local
paths: []
tls: []
admin:
enabled: true
type: ClusterIP
externalIPs: []
port: 9180
servicePort: 9180
cors: true
credentials:
admin: edd1c9f034335f136f87ad84b625c8f1
viewer: 4054f7cf07e344346cd3f287985e76a2
allow:
ipList:
- 0.0.0.0/0
plugins:
- api-breaker
- authz-keycloak
- basic-auth
- batch-requests
- consumer-restriction
- cors
- echo
- fault-injection
- grpc-transcode
- hmac-auth
- http-logger
- ip-restriction
- ua-restriction
- jwt-auth
- kafka-logger
- key-auth
- limit-conn
- limit-count
- limit-req
- node-status
- openid-connect
- authz-casbin
- prometheus
- proxy-cache
- proxy-mirror
- proxy-rewrite
- redirect
- referer-restriction
- request-id
- request-validation
- response-rewrite
- serverless-post-function
- serverless-pre-function
- sls-logger
- syslog
- tcp-logger
- udp-logger
- uri-blocker
- wolf-rbac
- zipkin
- traffic-split
- gzip
- real-ip
- ext-plugin-pre-req
- ext-plugin-post-req
- server-info
stream_plugins:
- mqtt-proxy
- ip-restriction
- limit-conn
pluginAttrs: {}
extPlugin:
enabled: false
cmd:
- /path/to/apisix-plugin-runner/runner
- run
customPlugins:
enabled: true
luaPath: /opts/custom_plugins/?.lua
plugins:
- name: prometheus
attrs:
export_addr:
ip: 0.0.0.0
port: 9091
configMap:
name: prometheus
mounts: []
updateStrategy: {}
extraVolumes: []
extraVolumeMounts: []
discovery:
enabled: false
registry: null
logs:
enableAccessLog: true
accessLog: /dev/stdout
accessLogFormat: >-
$remote_addr - $remote_user [$time_local] $http_host \"$request\" $status
$body_bytes_sent $request_time \"$http_referer\" \"$http_user_agent\"
$upstream_addr $upstream_status $upstream_response_time
\"$upstream_scheme://$upstream_host$upstream_uri\"
accessLogFormatEscape: default
errorLog: /dev/stderr
errorLogLevel: warn
dns:
resolvers:
- 127.0.0.1
- 172.20.0.10
- 114.114.114.114
- 223.5.5.5
- 1.1.1.1
- 8.8.8.8
validity: 30
timeout: 5
initContainer:
image: busybox
tag: 1.28
autoscaling:
enabled: false
minReplicas: 1
maxReplicas: 100
targetCPUUtilizationPercentage: 80
targetMemoryUtilizationPercentage: 80
configurationSnippet:
main: ''
httpStart: ''
httpEnd: ''
httpSrv: ''
httpAdmin: ''
stream: ''
serviceMonitor:
enabled: false
namespace: ''
name: ''
interval: 15s
path: /apisix/prometheus/metrics
metricPrefix: apisix_
containerPort: 9091
labels: {}
annotations: {}
etcd:
enabled: true
host:
- 'http://etcd.host:2379'
prefix: /apisix
timeout: 30
auth:
rbac:
create: false
user: ''
password: ''
tls:
enabled: false
existingSecret: ''
certFilename: ''
certKeyFilename: ''
verify: true
sni: ''
service:
port: 2379
replicaCount: 3
dashboard:
enabled: true
service:
type: NodePort
ingress-controller:
enabled: true
config:
apisix:
serviceNamespace: ingress-apisix
serviceMonitor:
enabled: true
namespace: ingress-apisix
interval: 15s
|
慢慢等待相关镜像下载运行完成。找到 apisix-dashboard Service 的 Node port 在浏览器中打开进入 dashboard,默认用户名、密码都是 admin。
创建一个 Ingress
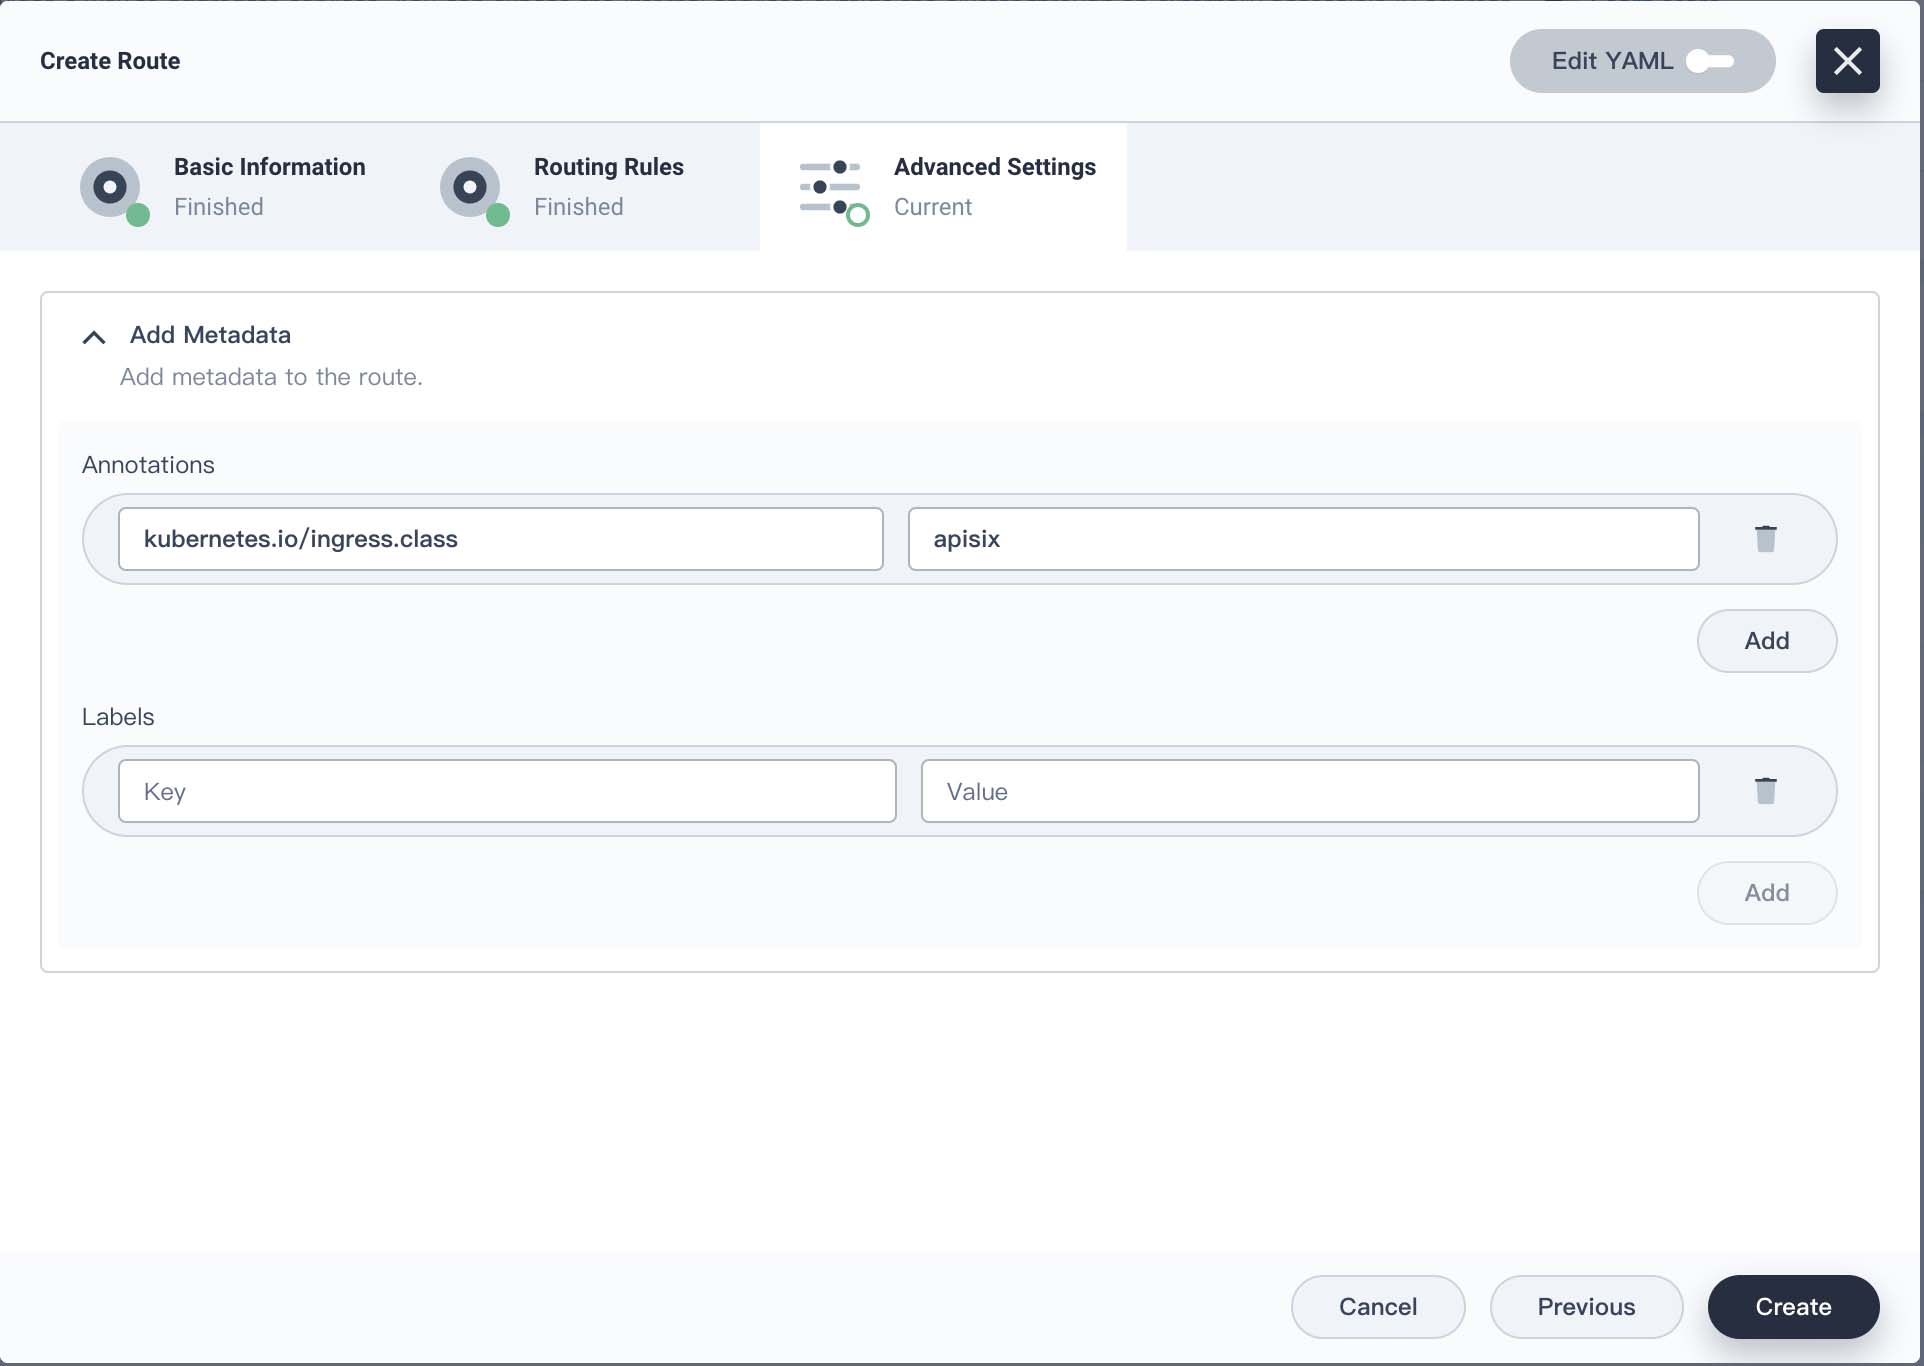
举例为我的 wx-msg-push 企业微信消息推送服务创建 Ingress。先创建一个 ClusterIP 类型的 Service,然后创建一个 Ingress。

kubernetes.io/ingress.class 设为 apisix
创建完成,在 apisix-dashboard 上 Route、Upstream 下可以看到对应的条目。apisix-dashboard 也是支持切换中文的。
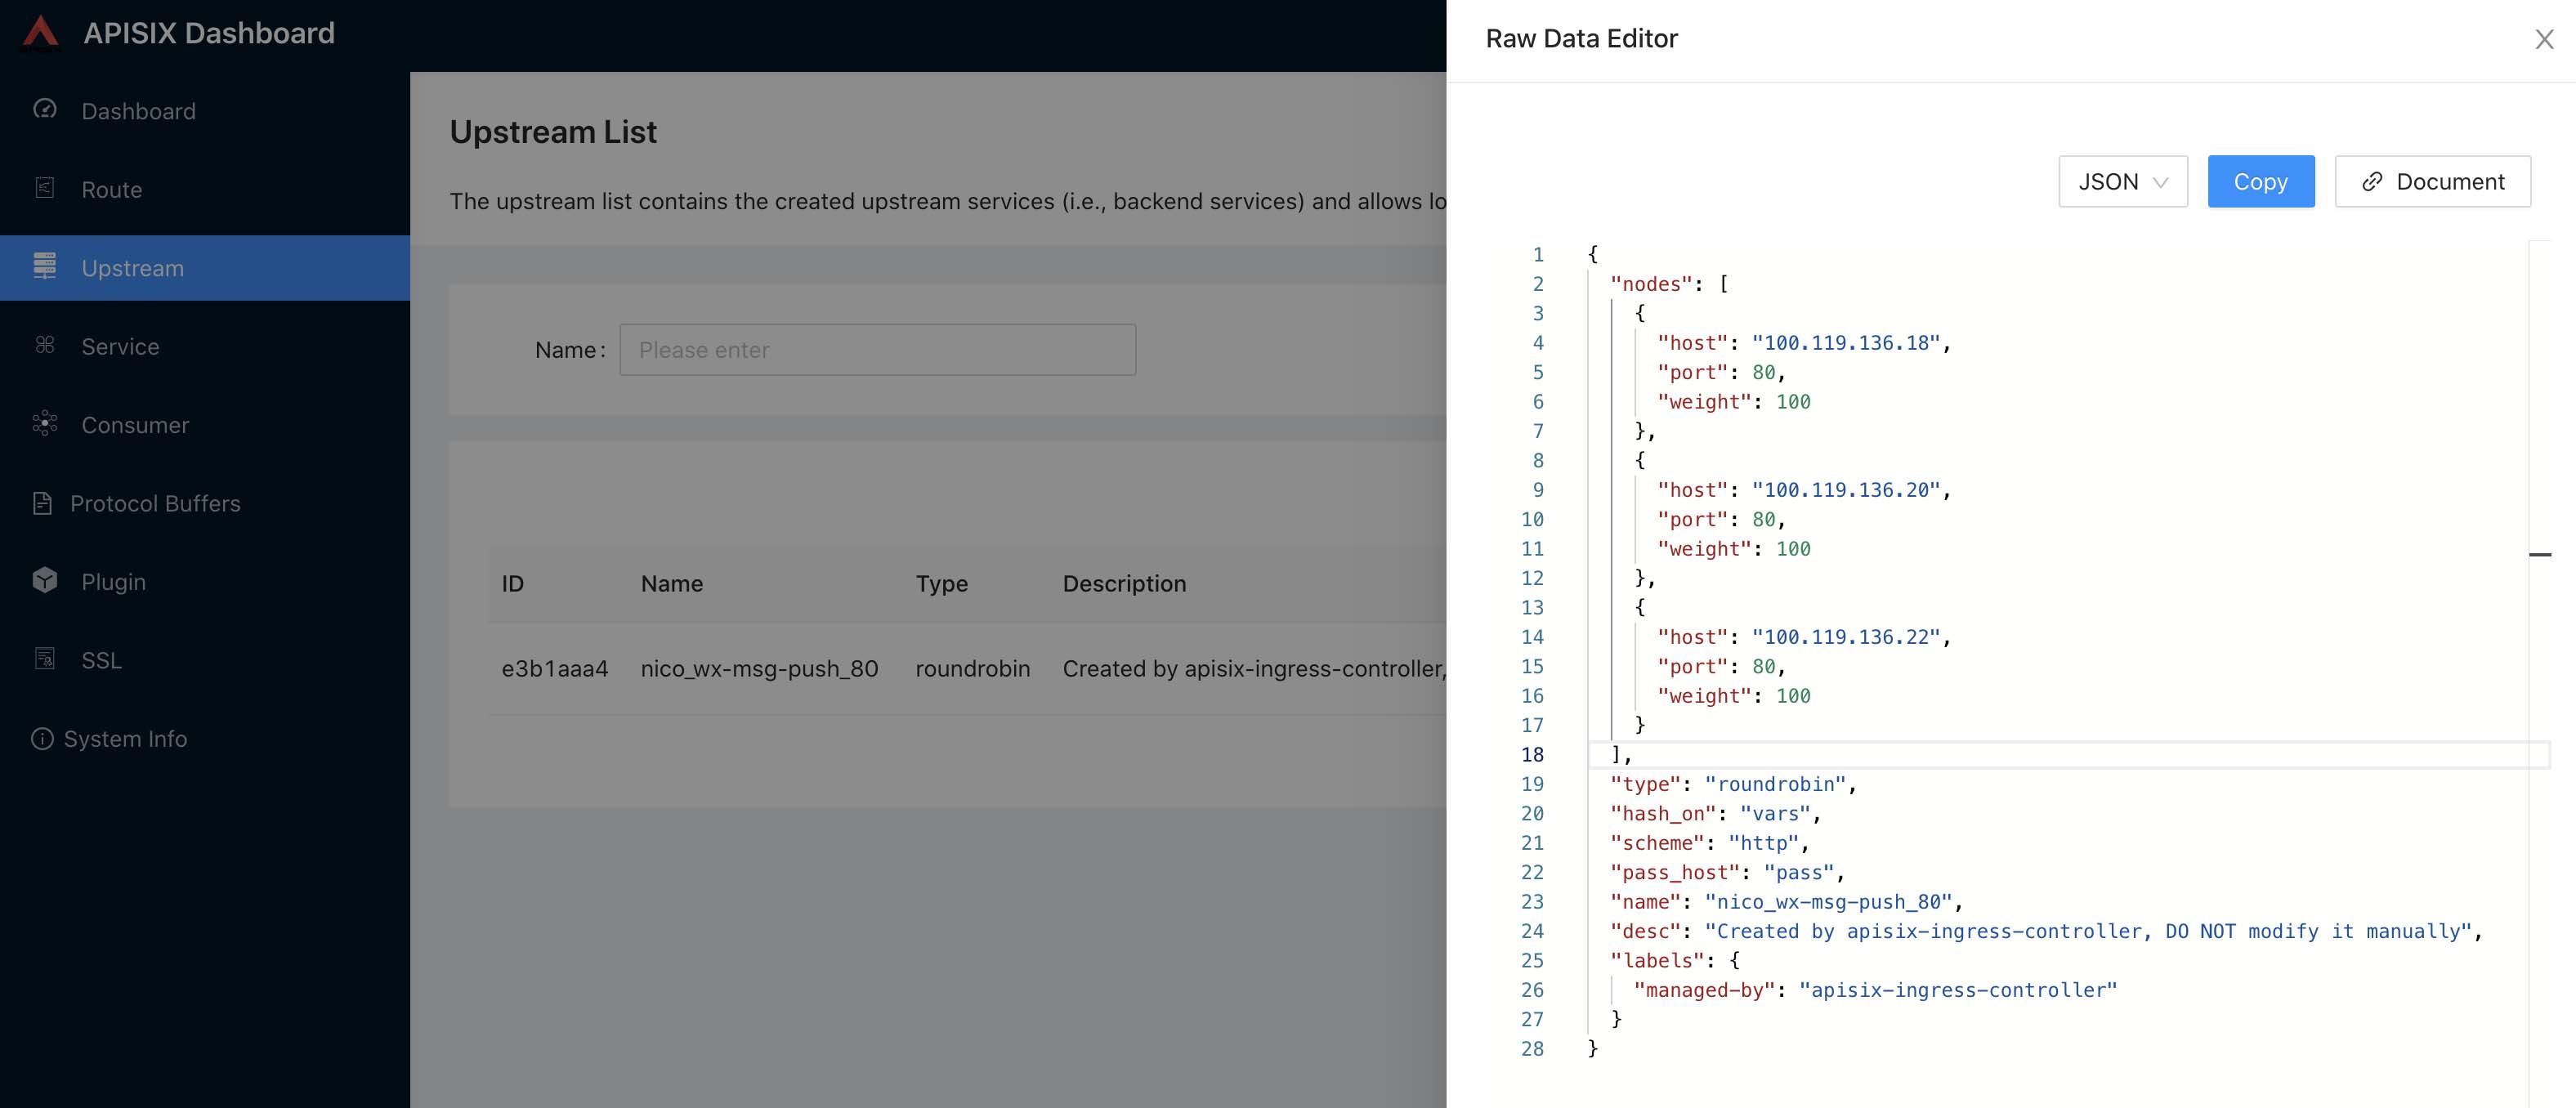
Upstream 节点直接就到 Pod IP,Pod 有变化 Upstream 会动态更新。
通过 ingress-apisix Project 下 apisix-gateway Service 的 NodePort 和路由规则里面的域名访问 wx-msg-push 服务。
我这里的域名是 msg-push.ibelieving.io 解析到 k8s 节点,然后通过 msg-push.ibelieving.io:31202 访问 wx-msg-push 服务。
这是一个简陋的 Ingress 使用例子。正经 k8s 环境下集群节点理论是不提供公网访问的,前端应该配置云负载均衡器作为公网入口,或者自行搭建高可用负载均衡,然后流量再进入 Ingress。而且直接访问 Ingress 只能使用高位端口。
灰度发布
先创建两个 wx-msg-push Deployment、Service,一个 v1、v2。v2 作为新版,定义一个 ApisixRoute yaml,将三分之一流量路由到 v2,将三分之二流量路由到 v1。
1
2
3
4
5
6
7
8
9
10
11
12
13
14
15
16
17
18
19
20
| apiVersion: apisix.apache.org/v2beta3
kind: ApisixRoute
metadata:
namespace: nico
name: wx-msg-push
spec:
http:
- name: route-rule
match:
hosts:
- msg-push.ibelieving.io
paths:
- /*
backends:
- serviceName: wx-msg-push-v1
servicePort: 80
weight: 2
- serviceName: wx-msg-push-v2
servicePort: 80
weight: 1
|
1
| $ kubectl apply -f wx-msg-push-route.yaml
|
通过 curl 进行测试,查看容器日志可以看到请求以三分之一概率进入到了 v2。正式业务使用时对新版本进行灰度测试,分少部分流量,验证通过后慢慢加大权重比例,直至全量切换。
这个路由配置可以从 apisix-dashboard 上看到。这是根据不同权重进行分流,也可以附加自定义规则进行分流。
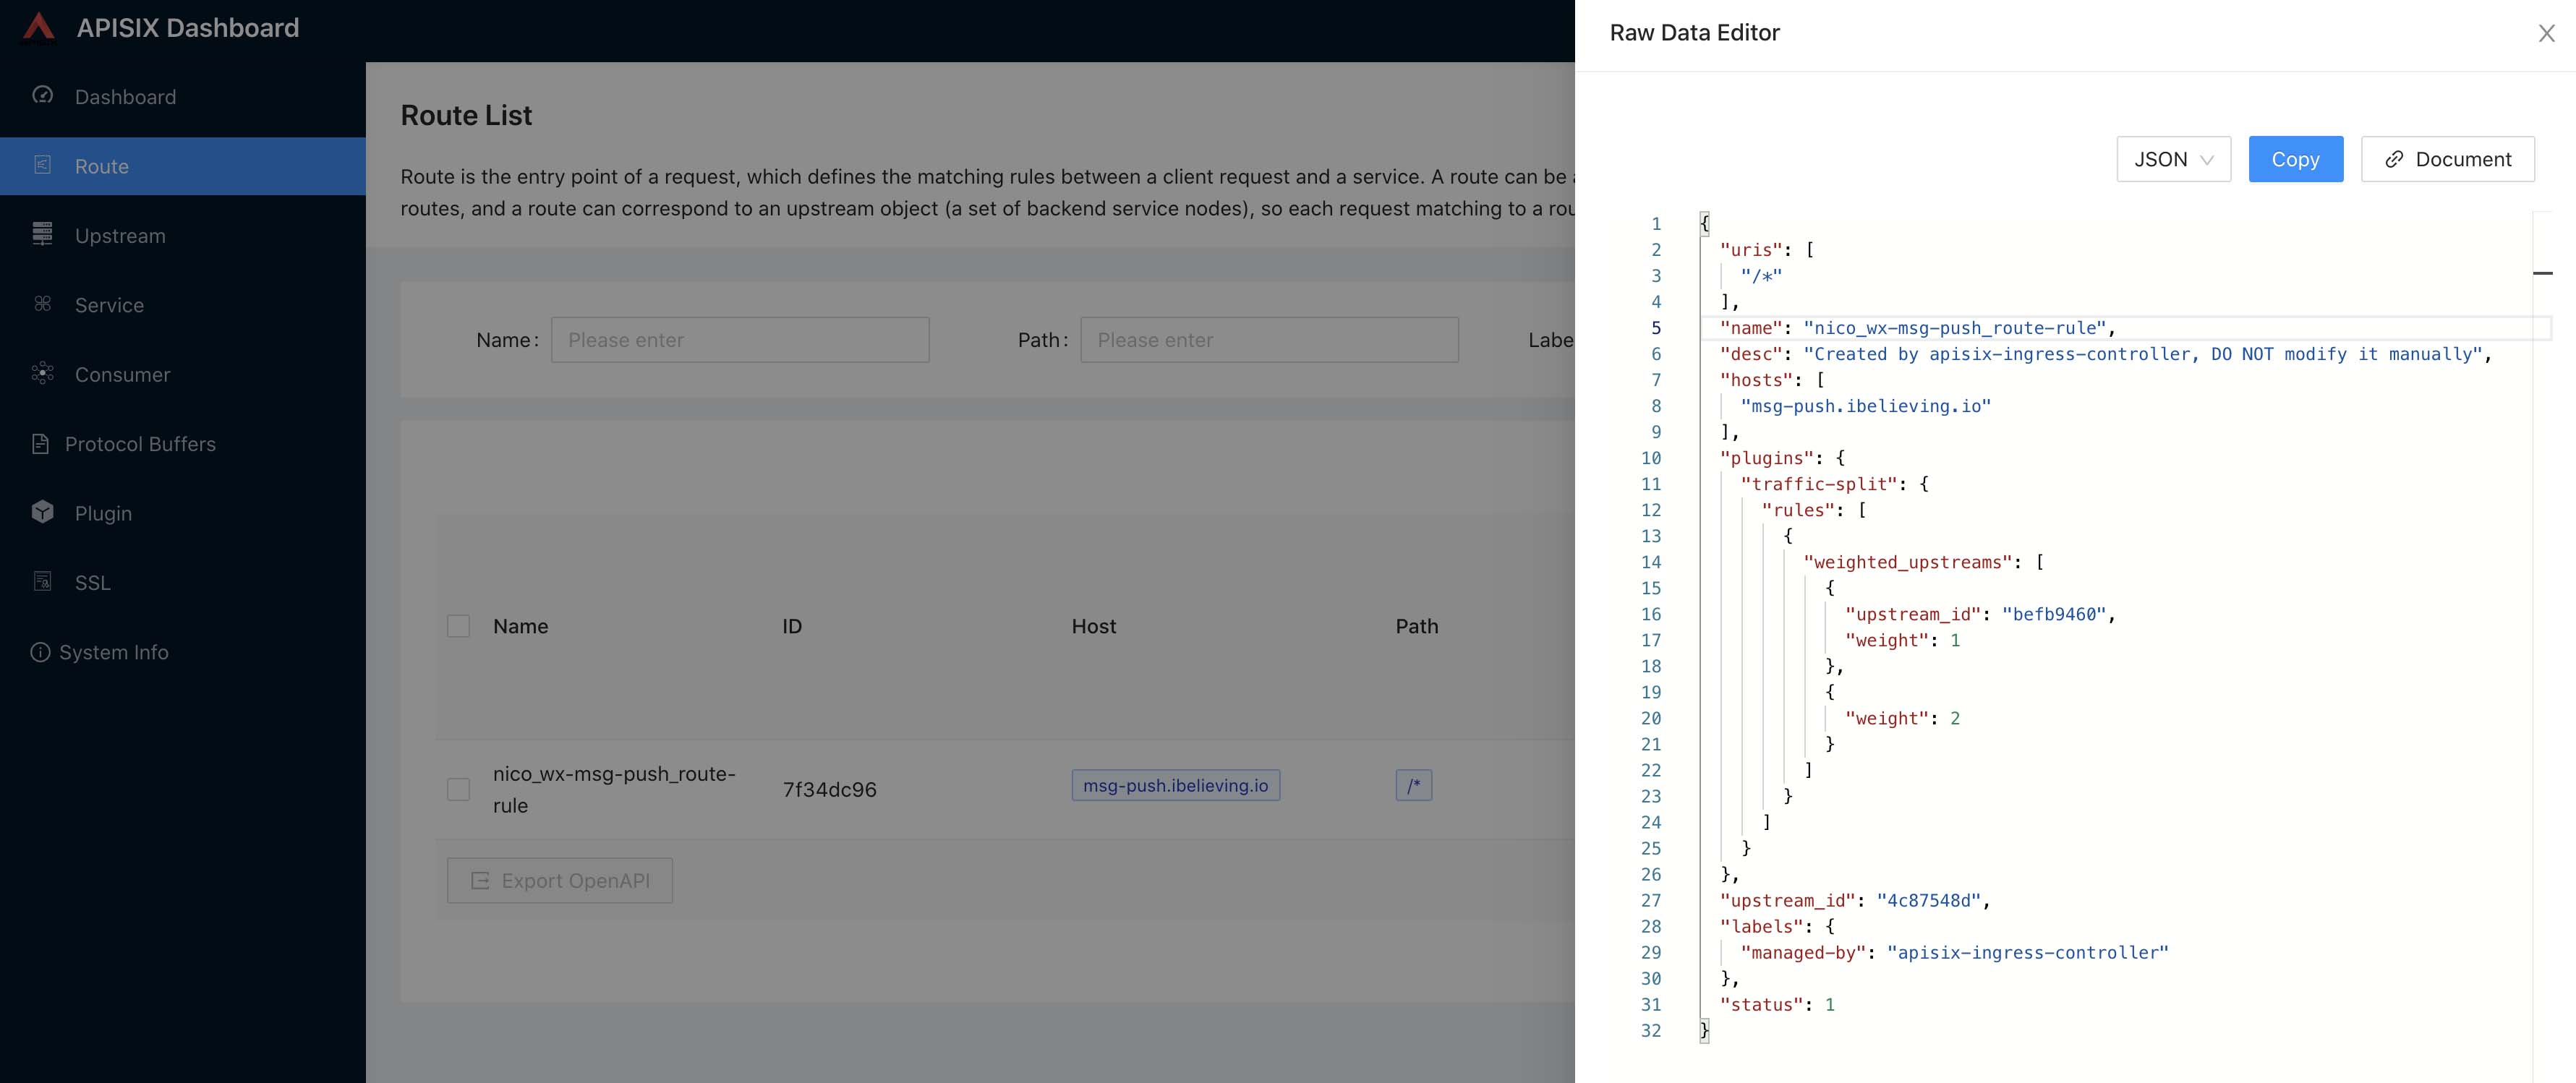
可以看到 apisix 对 yaml 中配置进行了处理,使用 traffic-split 插件实现了流量分流,upstream_id 对应着 Upstream 中的上游配置,根据 Service 生成。
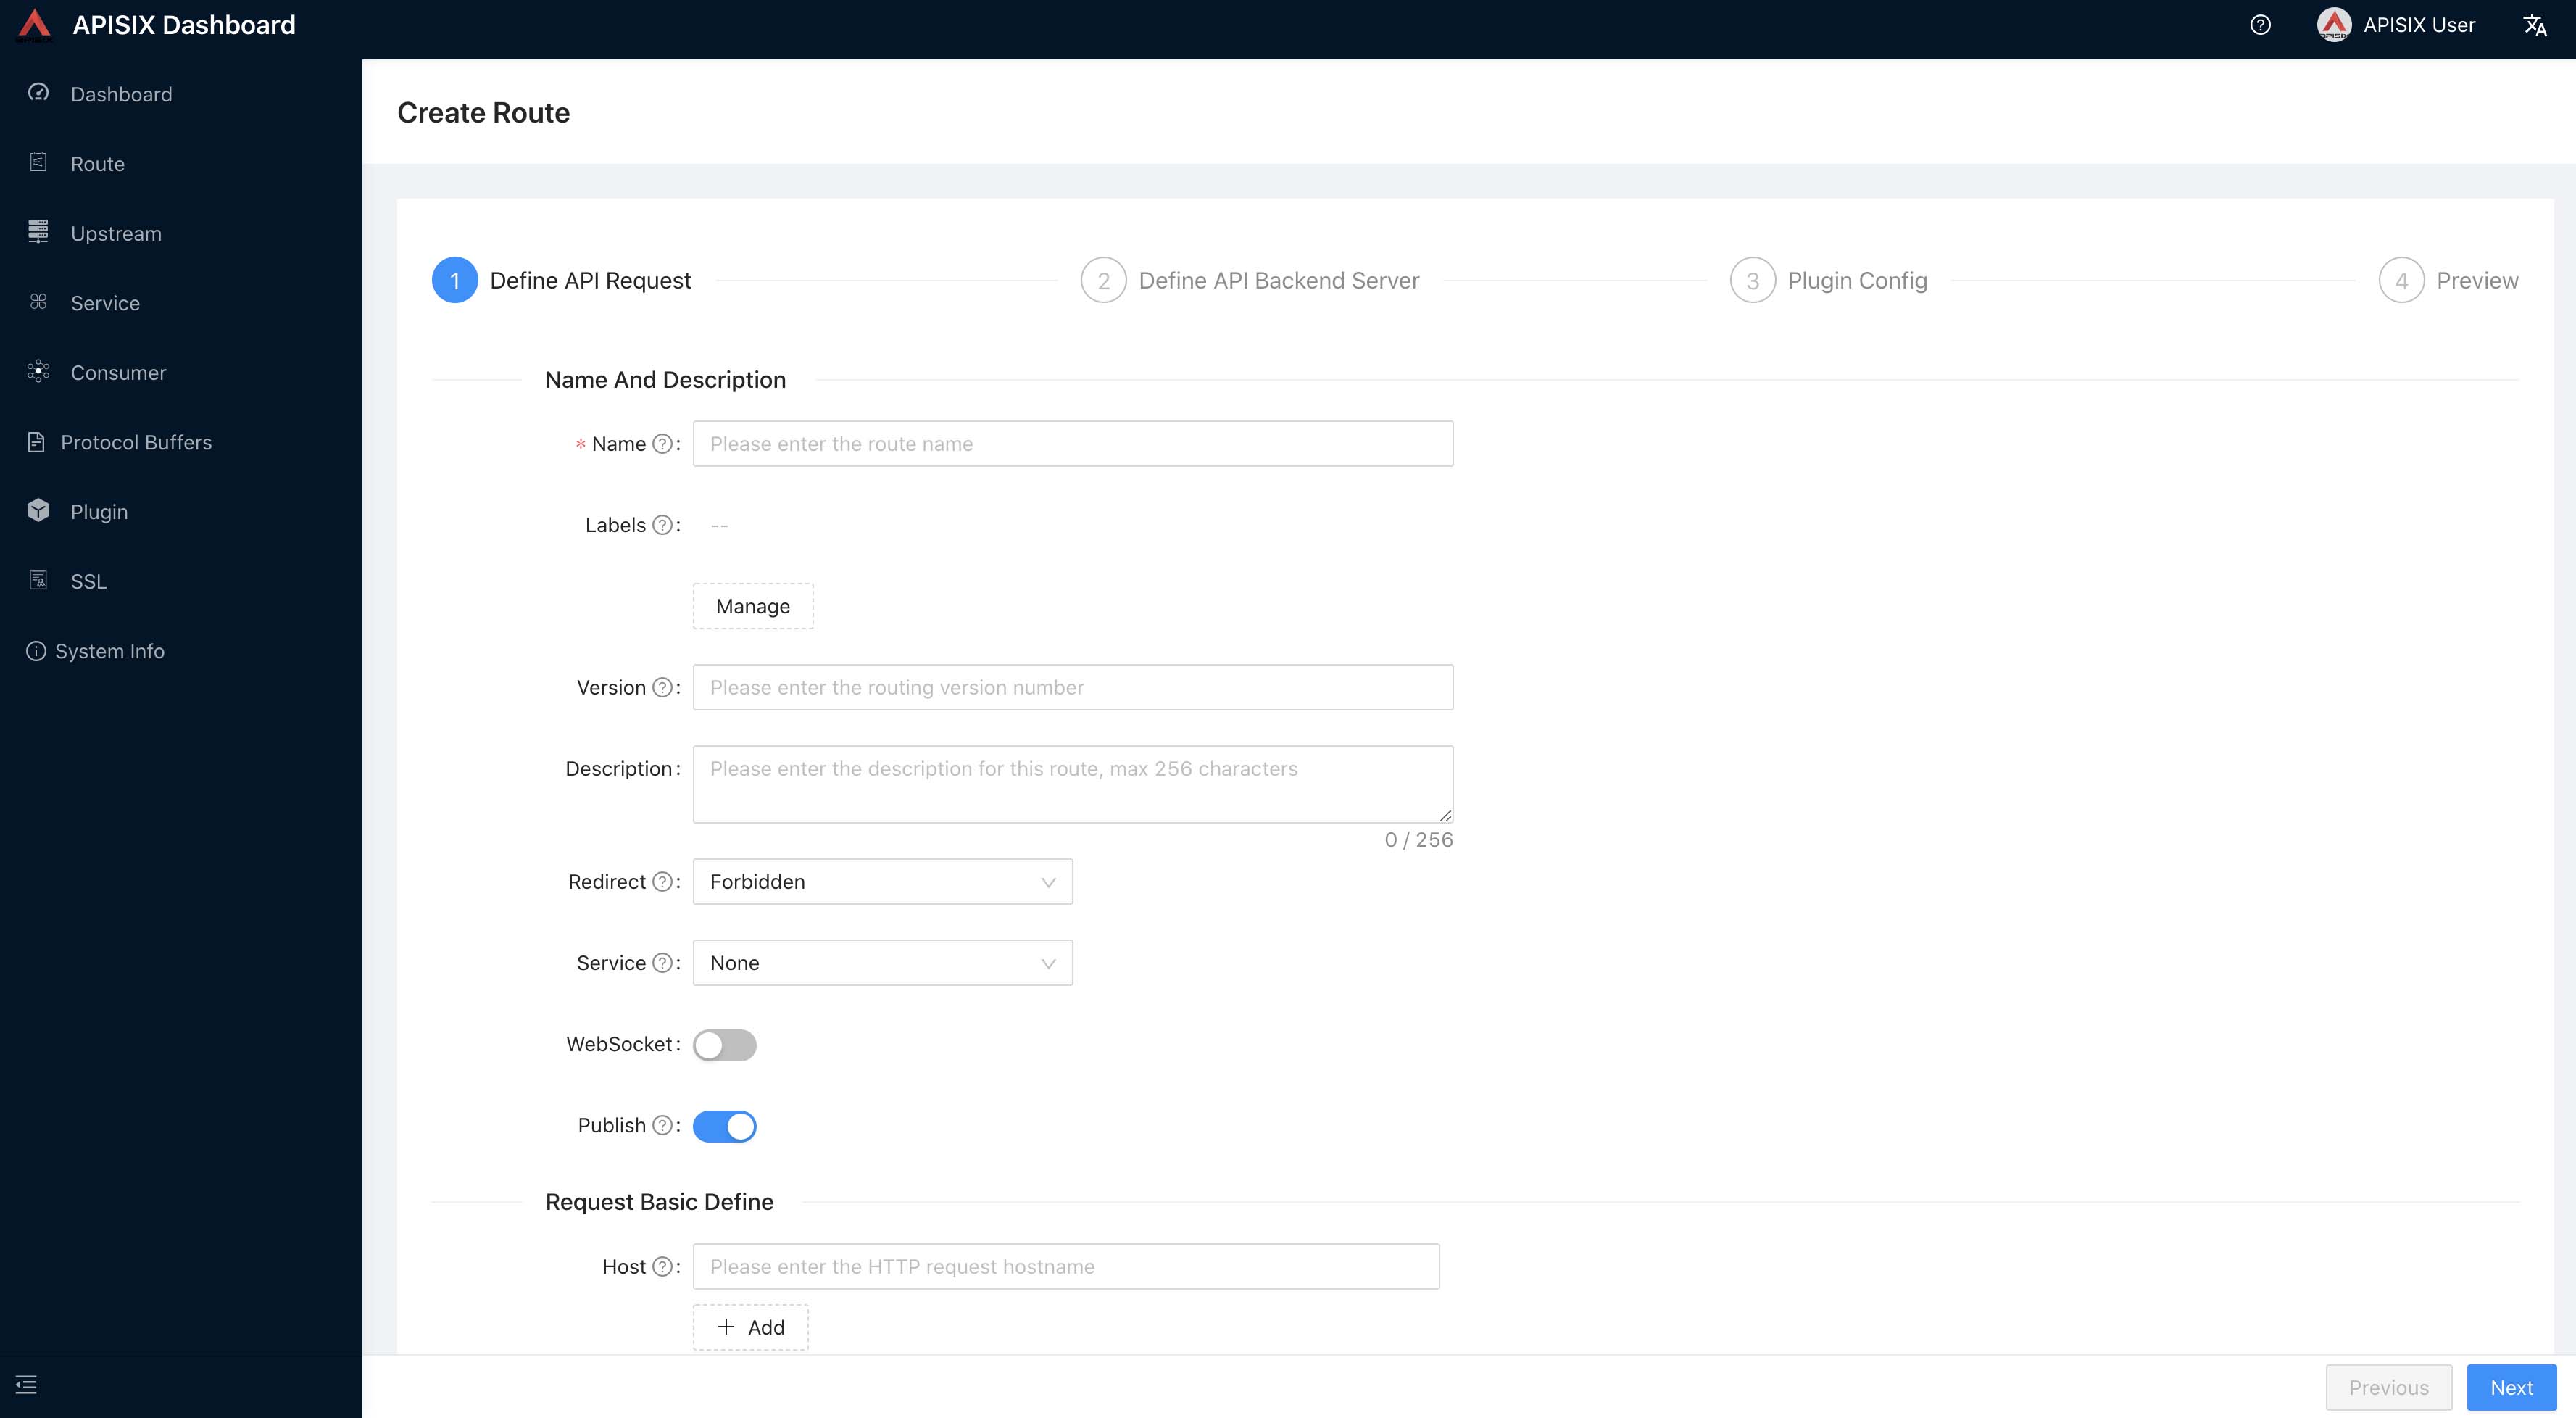
这个路由规则也可以通过 apisix-dashboard 的交互界面创建,还可以通过 apisix admin api 创建非常方便。
这篇文章只是 apisix 的一小部分,另外还有很多功能、插件可以使用。通过插件、Consumer 可以实现用户登录、权限认证、对不同的用户进行单独的限制。
参考
建议阅读